 Makerbot’s printers and corresponding desktop software is pretty easy to grasp and use, especially for beginners. Once you learn how to get your 3D model into the software and sent to the printer through the sd card or usb cable, it’s pretty straightforward. However, what are those other buttons for? What does the mysterious “Settings” button do? Well, that’s what I’m here to help you out with by giving a small tour of the settings so that you can use the software to it’s fullest potential.
0 Comments
One of the most important parts of using a 3D printer is knowing how to print something with it. So, in this post I will show the steps to get your project from 3D model to a physical object. Option 1: SD Card A simple way to print a 3d file with a Makerbot printer is using an SD card to print the file through the printer itself.
2. The file Take the file of your 3D object, whether you put it on a flash drive, emailed it to yourself, or otherwise. Click and drag the file onto the window, (insert image) and it will automatically process the file into the code for the 3D printer. 3. The SD card Take the SD card in the 3D printer (insert image), and insert it into the computer (insert image). Then export the file from Makerbot into the SD card and name it something memorable. 4. The printer Take the SD card out of the computer, the insert it back into the 3D printer. Then through The printer’s interface navigate click "Print from SD" and select your print. This should make the 3D printer begin preparing to print your object. Once the printer has heated up, it will begin printing automatically. Option 2: Printing through the computer
The process for printing this way is almost exactly the same, but instead of clicking "Export Print File," simply click "Print". This will tell the Makerbot to begin prepping the print and will begin shortly thereafter. One of the most important parts of using a 3D printer is cleaning it up afterwards. Without this, the printer is at a higher chance of running into problems and breaking down. You should think of it as an old clock, where if one small part is out of place or not running properly, the entire machine is thrown off. So, I’m dedicating this blog post as a how-to for cleaning the 3-D printer between uses. Cleaning the bed The printer bed is the metal plate that the printer extrudes plastic onto while running. Proper cleaning after a print is essential for proper adhesion and to prevent warping. There are several different ways to clean the bed. The first is specifically if you used a bonding adhesive like a glue stick to keep the print on the bed. For this you will need some rubbing alcohol (nail polish remover) and cotton swabs or other disposable cloth. All you need to do is dampen the swab or cloth and rub the bed where the glue is until it has all been removed. If your cotton swab or cloth gets too dirty to continue removing the glue, throw it away and get a new swab and keep going. You are done when there is no residue left, if you see streaks of rubbing alcohol on the bed, don’t worry. It should evaporate and disappear after a few seconds. If you don’t need to remove old glue, then just giving the bed a quick wipe down should remove any accumulated gunk. Just remember not to push too hard onto the bed or you may throw off the calibration and have to re-level it. 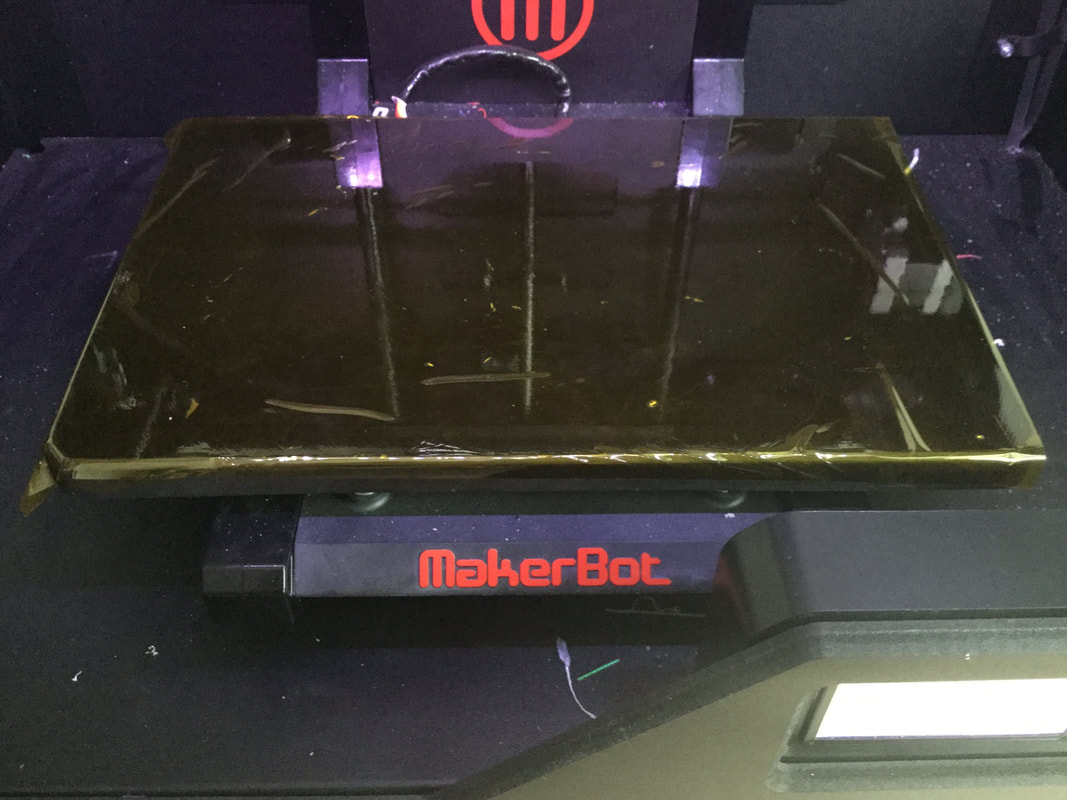 Extruder A quick cleaning of the extruder after the print is a good way to keep the nozzle from clogging and/or extruding too thin of lines. All you need to clean the exterior is a cleaning pick of some sort. After your print, while the extruder is still hot, take your pick and scrape off any plastic that got stuck to it. While it may seem simple and inconsequential, this is important to remove as it will build up over time and lead to the filament potentially becoming a heaping glob on the nozzle instead of printing onto the bed as it should. Makerbot has also made a video on how to clean the inside of the nozzle that you can watch below, however I don't recommend doing this unless you have some experience with the printer, and even then you only need to do it every once in a while. 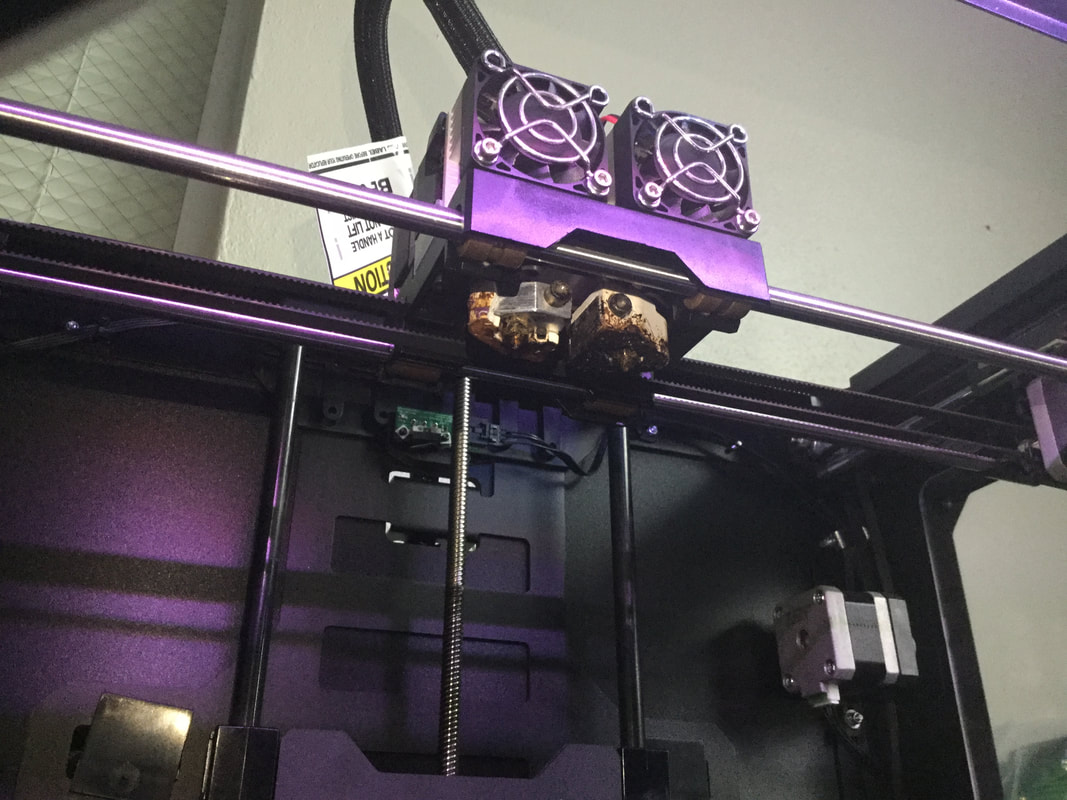 To conclude, it is important to clean your 3D printer to keep things running smoothly. Just remember to clean the bed and the outside of the extruder of the printer after every print to keep it running up to par, as well as keep your 3D prints nice and clean and orderly.
|
