|
As you use a 3d printer, over time the printing bed can be slowly pushed away from the extruder, which messes up your prints in all sorts of different ways. Fortunately, re-leveling your bed is easy and takes no more than 5 minutes.
To start, turn on the 3D printer using the switch on it's back. Once the printer has started up, go to Utilities>Level Build Plate. It will then begin the leveling process and display directions on how to do it. The extruder will move to different points on the build plate, and you will need to slide the small card by the printer uder the extruder head and tighten and loosen the knobs underneath the build plate until you feel a smalll amount of resistance. This will need to be done for each point on the build plate that the extruder moves to. Once it is complete, the printer will be ready to print on once again. For more information, visit https://support.makerbot.com/learn/makerbot-replicator-2x/getting-started/leveling-the-build-plate_11702
0 Comments
 Did you know that you can use Magic Move during a presentation to make it be more interesting? Magic move makes it to where you can create objects, and then make them move to something on the next slide. Magic Move is a transition that uses animations in the slides. It moves their positions onto a different slide to change that slide. Its mainly used with objects to make the trick easier. Click on Apple Support it will lead you step by step if you have trouble with Magic Move. In this Youtube video it explains how Magic Move works, and shows you the process/feature on how it works.  Makerbot’s printers and corresponding desktop software is pretty easy to grasp and use, especially for beginners. Once you learn how to get your 3D model into the software and sent to the printer through the sd card or usb cable, it’s pretty straightforward. However, what are those other buttons for? What does the mysterious “Settings” button do? Well, that’s what I’m here to help you out with by giving a small tour of the settings so that you can use the software to it’s fullest potential.
What is canva? Canva is an app on mobile devices that allows you to create quick and easy eye-appealing posters or mementos. These posters look almost professionally made, because they kind of are. Canva allows you to choose from first a base on how you want your image to be sorted out. For example on the start page you can choose from a “Social Media style” to a “Pinterest Graphic” design.  Once you choose a design you enter a design studio, here you can find Layouts, Text, Background and Uploads. In layouts there's hundreds of Free bases you can edit and re design instead of having to make a completely new layout from scratch. Once you choose a layout you can edit it or import Text Paragraph styles to more text bubbles, if you select typed text you can even change the text spacing and transparency of the text itself, there's a lot of designing you can do here.. You can also import photos from your camera roll to throw into your poster or design. You can also add in a semi transparent background that you can change the color of to give more texture and appearance to you design. That pretty much sums up canva, it's a very useful and easy app to use in my opinion, it has a really user friendly user interface, and can really come in and clutch when you need a fast poster or bulletin made that you've had so much time to make but sadly waited until last minute to make… like this blog post. 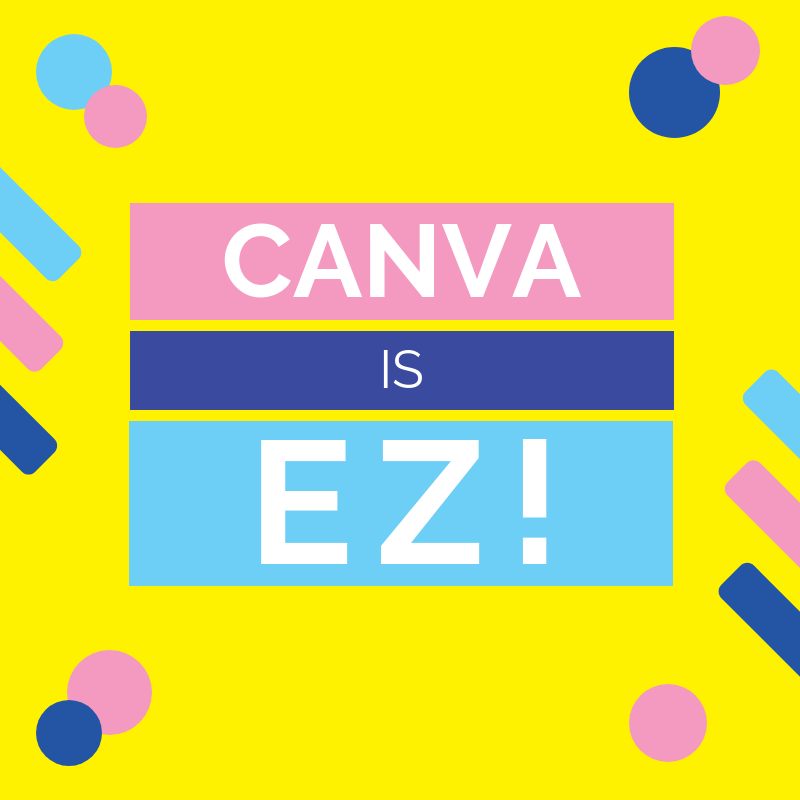 By: Jazzlynn Holman The reminders app can be used to remind yourself to do important daily things. This app can be used on many Apple products including the iPhone, iPad, and iPod touch. Continue reading to learn how to never forget the important stuff you need to get done! To create a reminder open the app, tap the plus sign, and enter your reminder. Or you can ask siri on your device to create your reminder. 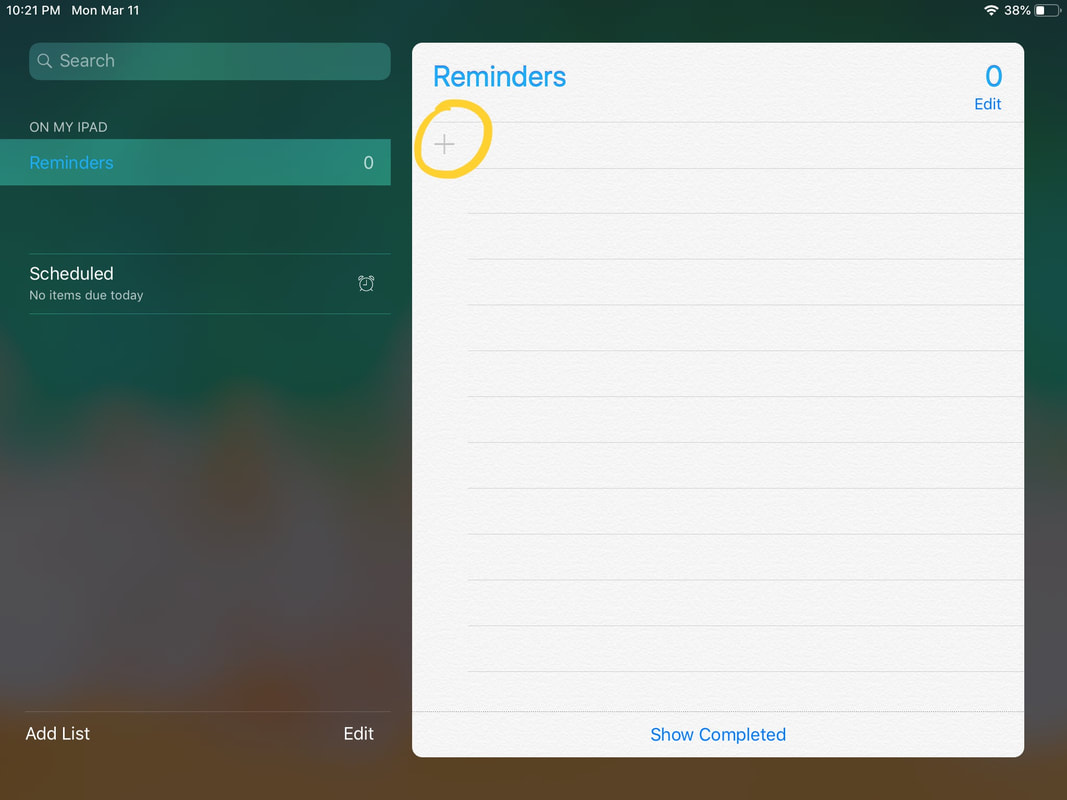 Click the plus to add a reminder. If you would like to be reminded at a certain time or location select the circled i. If you would like to be reminded at a location, click on Remind me at a Location then tap location. You can search the location, enter the address, or elect current location. Next, choose if you would be to be reminded when you leave the location or when you arriving at the location. 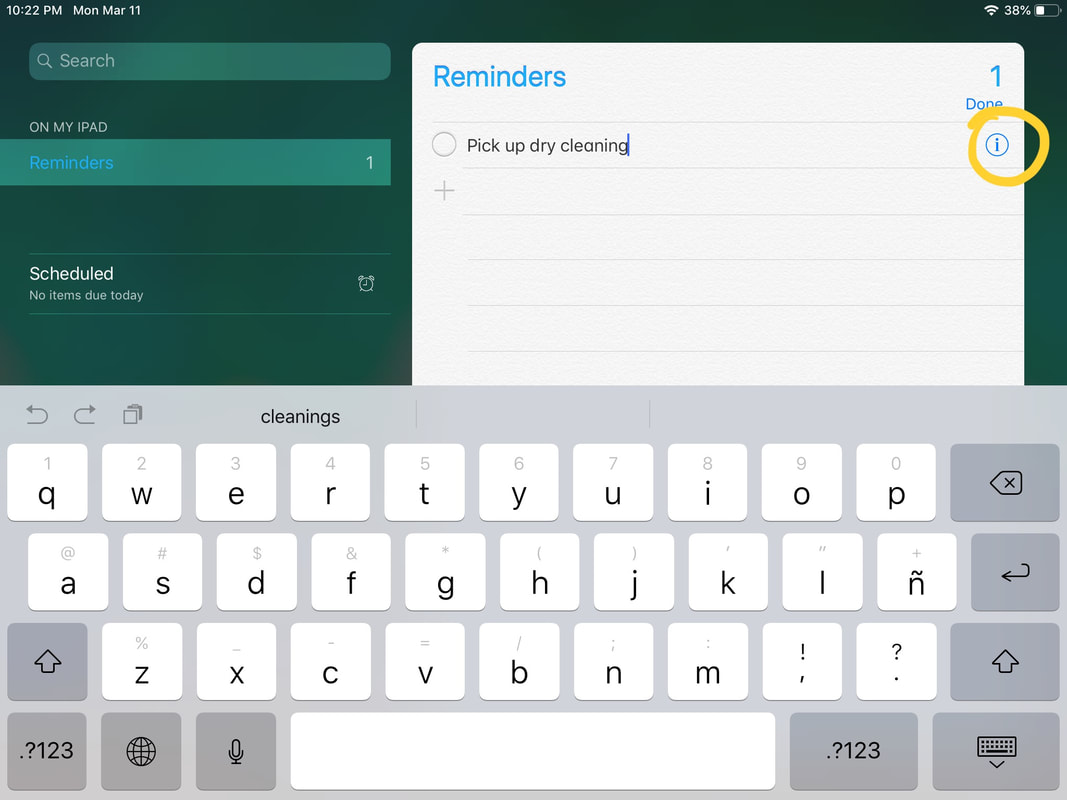 Click on the circled i to add a location or date. 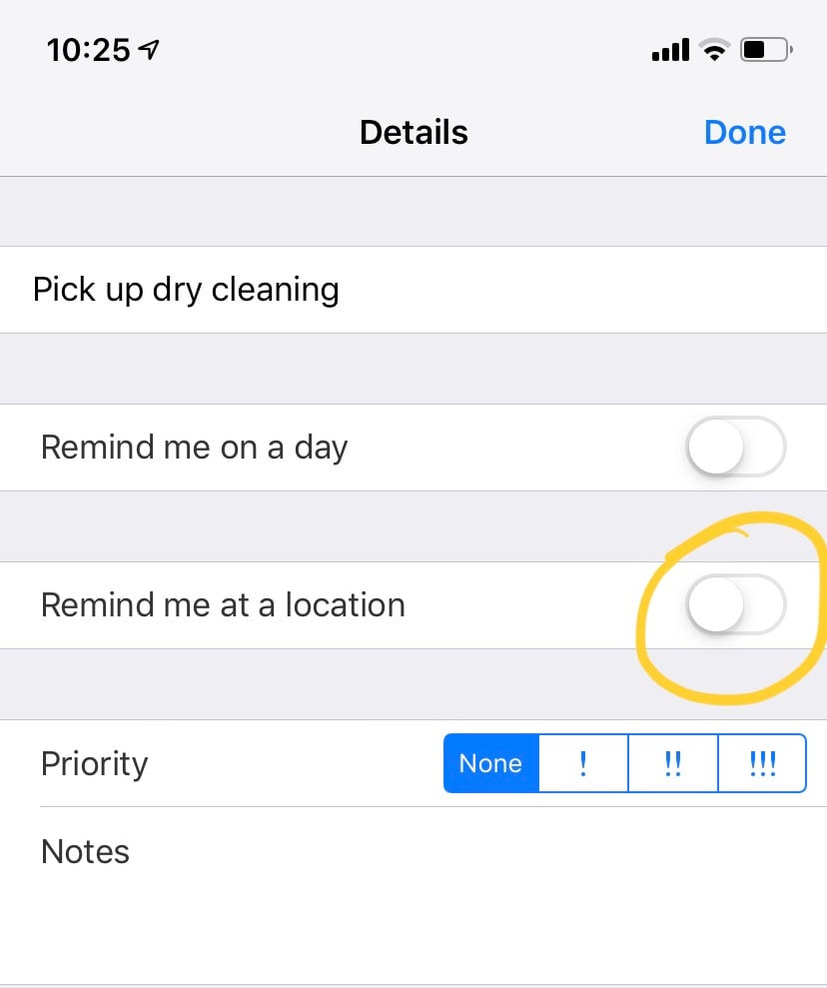 Click on Remind me at a Location to add a location. 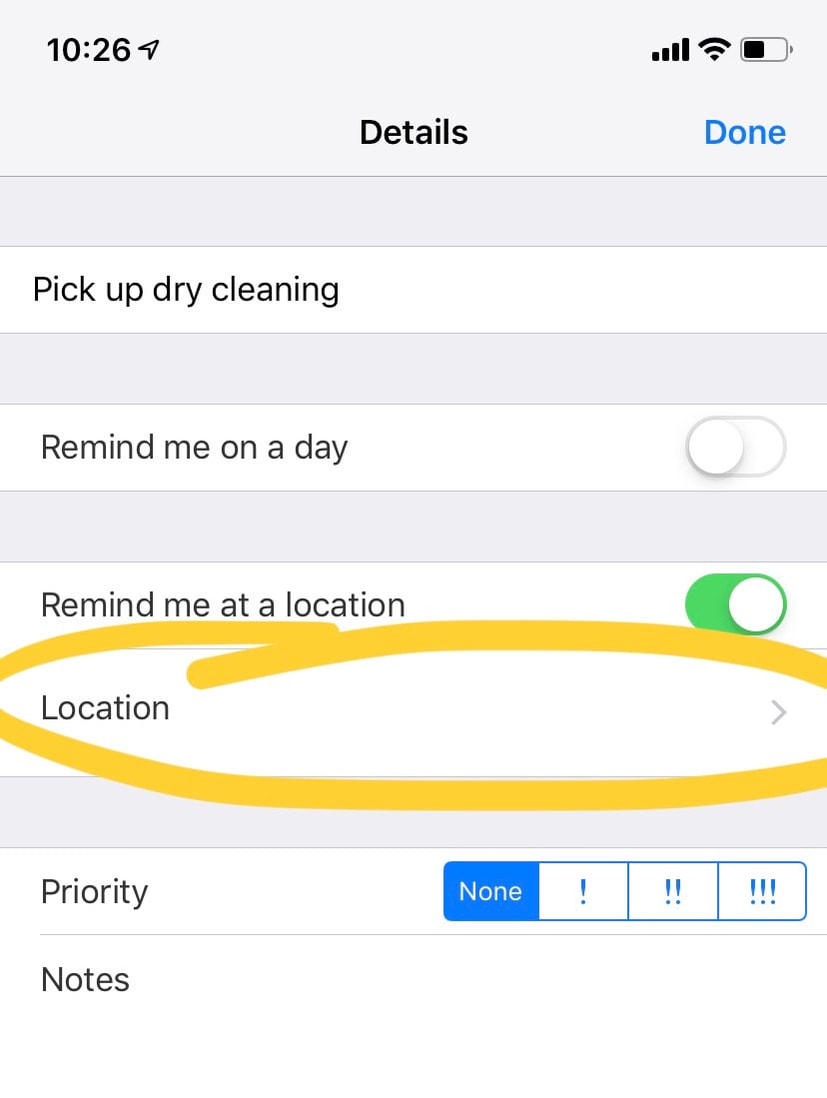 Select location after the bar turns green.  To add a location, search the location or choose your current location. If you would like to be reminded at a time select Remind me on a day. After that, adjust the time and date. 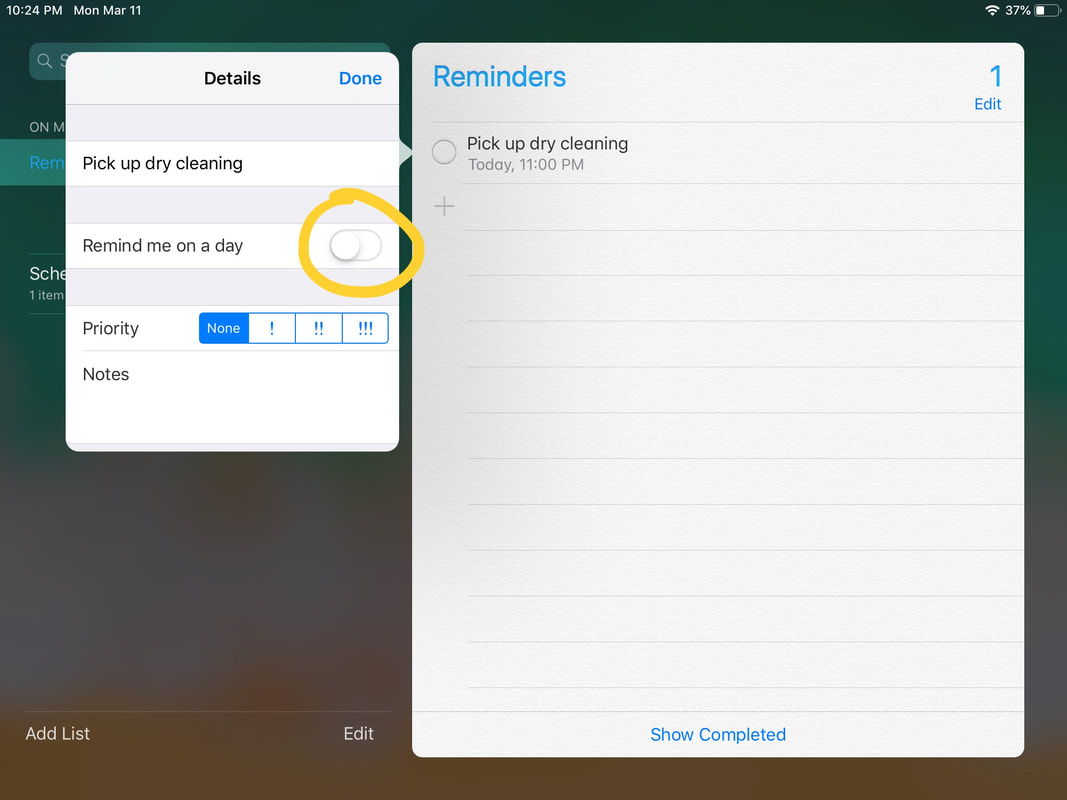 Click on Remind me on a day to pick a day and time. 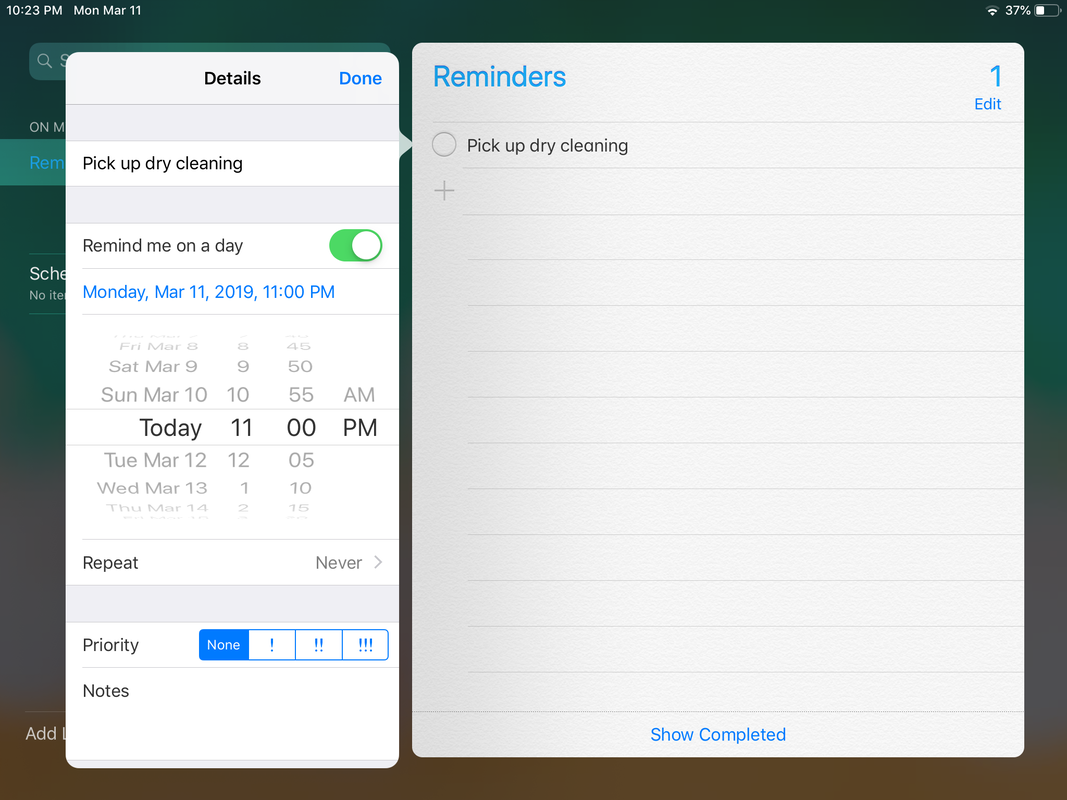 Choose the time and date you would like to be reminded at. If you would like to learn even more about this app, visit this website. If you're having trouble or would like to learn more you can also watch this video. Use reminders to help you remember your day-to-day tasks and your life will become way easier.
By: Madeline Winter  Educreation is an app that allows teachers and students to make videos using photos, drawings, and other features. Educreation acts like a whiteboard because teachers and students can record their screens as they are writing. Visit the Educreation website to learn more about the app to enhance your presentations. 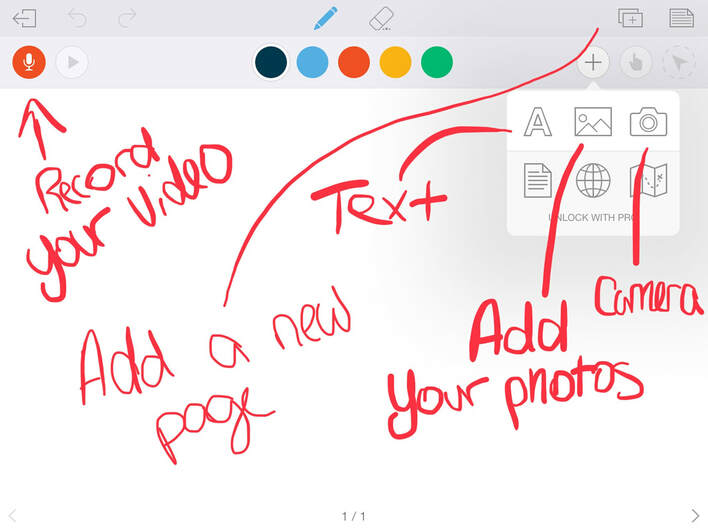 Use these features to improve your videos 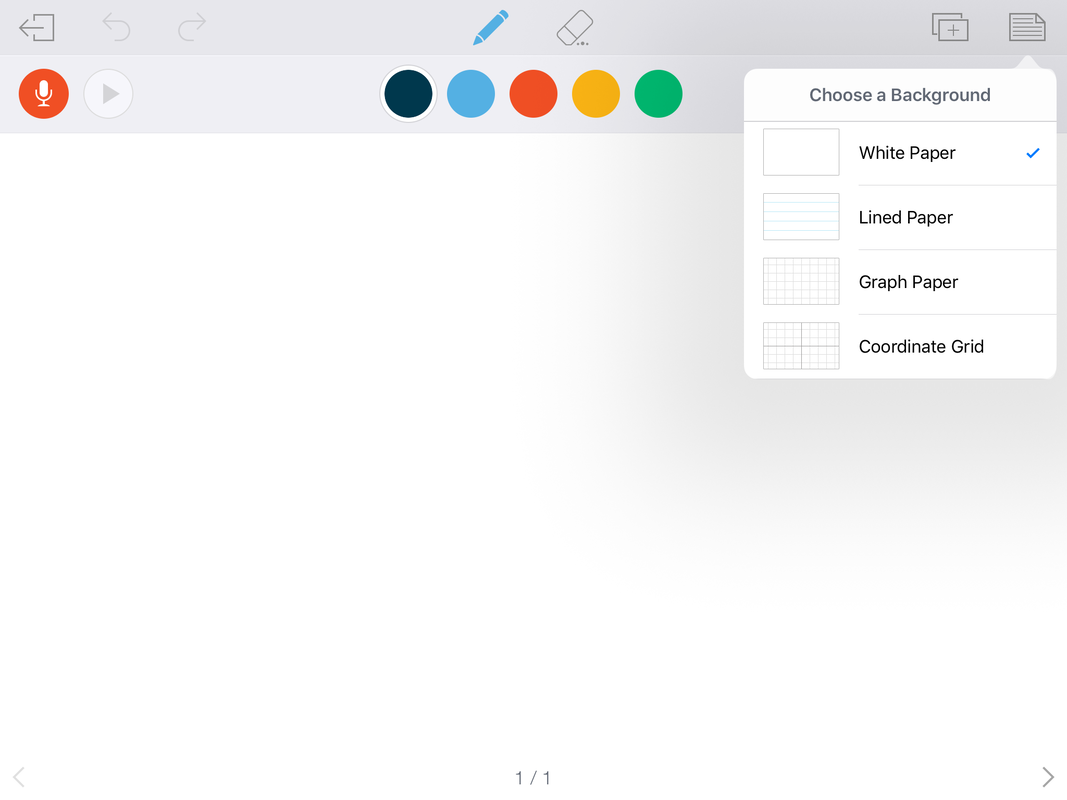 Use graph paper and a coordinate grid to film math videos This is a useful app because you can change the background to a blank white page, graph paper, line paper, and add your own image to change the background. Educreation can be use for math teachers and students who need graph paper. This app has many different uses. Click on the link to find more uses.
Have you wondered what Google Expedition was? I didn’t think it sounded like what it actually is. I am going to teach you how to use the app. So what Google Expedition really is, is it’s kind of like an educational app that you can learn about almost anything you want to. You have a 360° of whatever your exploring. All of my pictures below are in order of the steps you will need to use Google Expeditions.  So what you’ll want to do when you open the app is tap the magnifying glass in the top right corner.
Then it will bring up some topics you could choose, or you can search and find your own. If you choose a topic then it will bring up locations based on the topic you picked.  So if you click on a topic it will ask if you want to view it in VR, or full screen. If your doing it on an iPad you’ll need to use full screen.
It then will bring up the different slides on the bottom of your screen and you can click those and read and learn about your subject.  If you click on the circle with the four very little lines on the outside of it, it will show you what it is by moving the screen to point it’s talking about.
One of the most important parts of using a 3D printer is knowing how to print something with it. So, in this post I will show the steps to get your project from 3D model to a physical object. Option 1: SD Card A simple way to print a 3d file with a Makerbot printer is using an SD card to print the file through the printer itself.
2. The file Take the file of your 3D object, whether you put it on a flash drive, emailed it to yourself, or otherwise. Click and drag the file onto the window, (insert image) and it will automatically process the file into the code for the 3D printer. 3. The SD card Take the SD card in the 3D printer (insert image), and insert it into the computer (insert image). Then export the file from Makerbot into the SD card and name it something memorable. 4. The printer Take the SD card out of the computer, the insert it back into the 3D printer. Then through The printer’s interface navigate click "Print from SD" and select your print. This should make the 3D printer begin preparing to print your object. Once the printer has heated up, it will begin printing automatically. Option 2: Printing through the computer
The process for printing this way is almost exactly the same, but instead of clicking "Export Print File," simply click "Print". This will tell the Makerbot to begin prepping the print and will begin shortly thereafter. Did you know that you can edit photos in so many ways? Instead of going to photoshop or any complicated apps you can do a lot just on your iPad. I’m going to tell you about five basic editing features our iPad gives us. 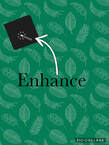 Enhance-With enhancing the iPad makes it to where it thinks the photos light should be and look like. You don’t always have to use this if you don’t like it. 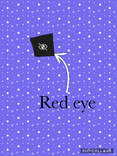 Red eye-It gets rid of red eye. If you have a glare in a image you can click on the red eye option which will basically get rid of the glare. 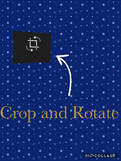 Crop/rotate-This editing factor helps to where you can make your image shorter. With the crop tool you can crop out pieces of the image you don’t like. You can rotate your image if you want it turned or even add a effect to it. 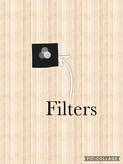 Filters-That’s the option you where you can many different filters to add to our photo. This will help add different effects to our photo to make it look 100 percent better. 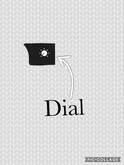 Dial-There’s an option under the 3 circles. That helps adjust your lighting, color, and make it to make it black and white. Say you have a filter to bright. You can click on one of the options to make the photo less bright 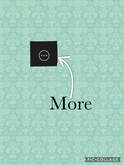 More-This makes it to where you could click markup if you wanted to write on your photo. Click on my YouTube video to show you how each editing option works, especially for questions you have. My video goes through each five editing option our iPad features. Did you know if you don’t like how you edited your photo there’s a revert option to change it back to normal? That’s helps with mess ups or just simply not liking what you did.
To get more help on how to edit photos you can click on Apple Support or, Basic Photo Editing find out what you need if you get lost or needing help on things I did not cover. Have you ever heard of sketches school? ME NEITHER LETS TALK ABOUT IT. Sketches school is a simple but complex sketching app that has loads of features that you sort of have to discover for yourself to find the maximum potential of it. In the home screen you can make files to keep sketches in and you can export pictures you have drawn to your camera roll! In sketches you will find the main menu here where you can find your saved sketches in the default folder and a file of the sketches tools with picture examples of what they look like so you don’t have to guess and check, you can also import pictures to even draw on in this menu. 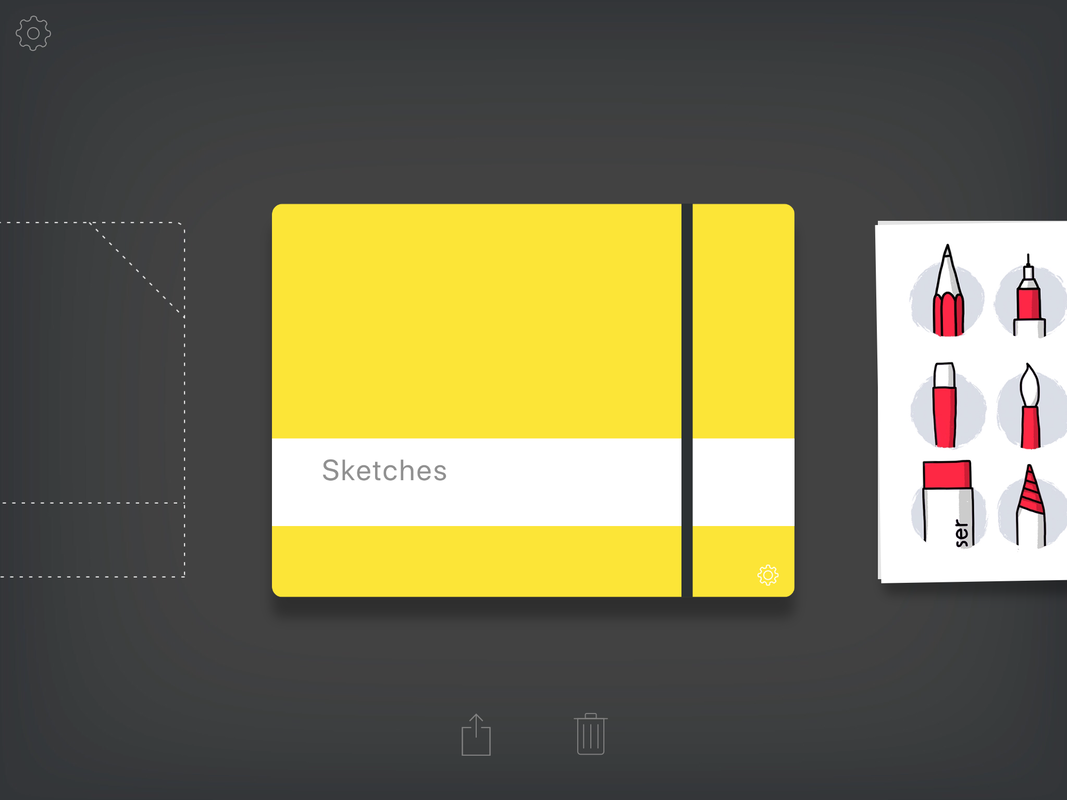 Now in the sketches default folder it will open and show either no sketches or a sketch you may of already started, you need to press the big plus button to open a new sketch to draw on. Now on the left of the blank canvas there is a tool bar where you can select all of the different tools, it is recommended that you look at the example pictures at the beginning so I don’t have to explain every individual tool to you. To get the toolbar out of the way simply swipe to the left near the toolbar to make it go away. On top of the sketching page you can see an option bar to tweak the page or upload or download images. 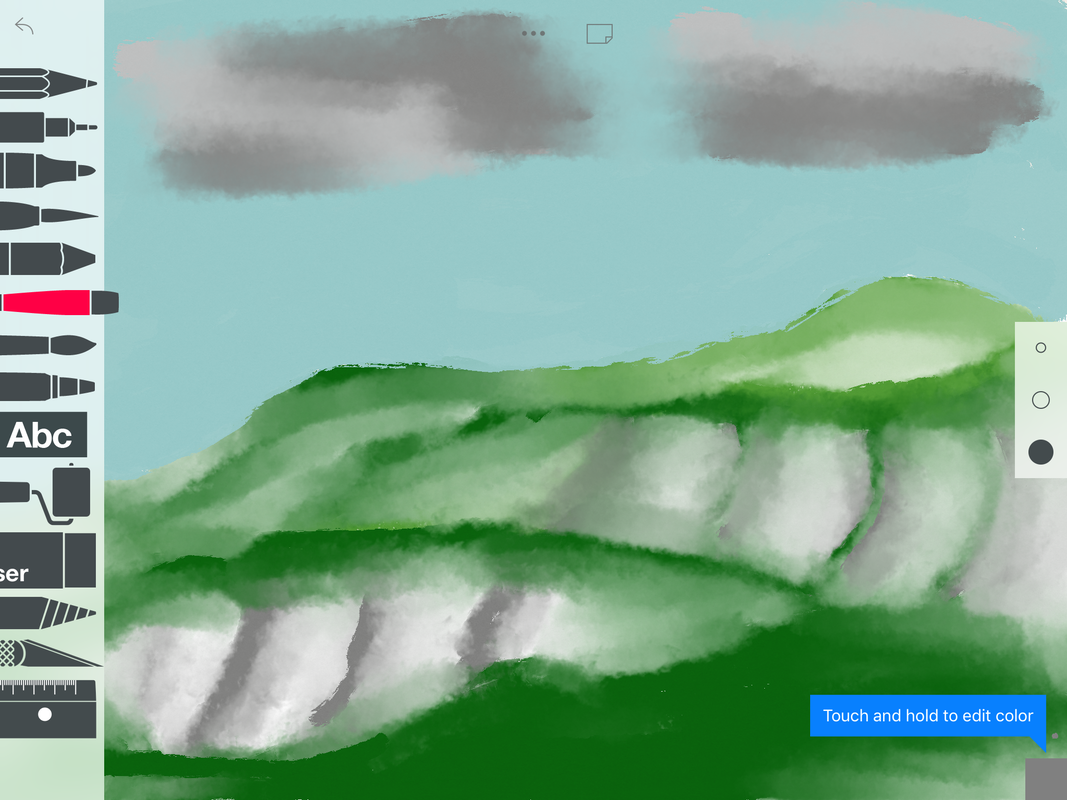 Tips to use while drawing is using the shader tool to add the “professional” effect of colors and mixing colors. Now that you know what tools do what, feel free to try it out and experiment with it, the more you use it the more you will become more skilled so go have fun.
|