 Makerbot’s printers and corresponding desktop software is pretty easy to grasp and use, especially for beginners. Once you learn how to get your 3D model into the software and sent to the printer through the sd card or usb cable, it’s pretty straightforward. However, what are those other buttons for? What does the mysterious “Settings” button do? Well, that’s what I’m here to help you out with by giving a small tour of the settings so that you can use the software to it’s fullest potential.
0 Comments
Have you ever heard of sketches school? ME NEITHER LETS TALK ABOUT IT. Sketches school is a simple but complex sketching app that has loads of features that you sort of have to discover for yourself to find the maximum potential of it. In the home screen you can make files to keep sketches in and you can export pictures you have drawn to your camera roll! In sketches you will find the main menu here where you can find your saved sketches in the default folder and a file of the sketches tools with picture examples of what they look like so you don’t have to guess and check, you can also import pictures to even draw on in this menu. 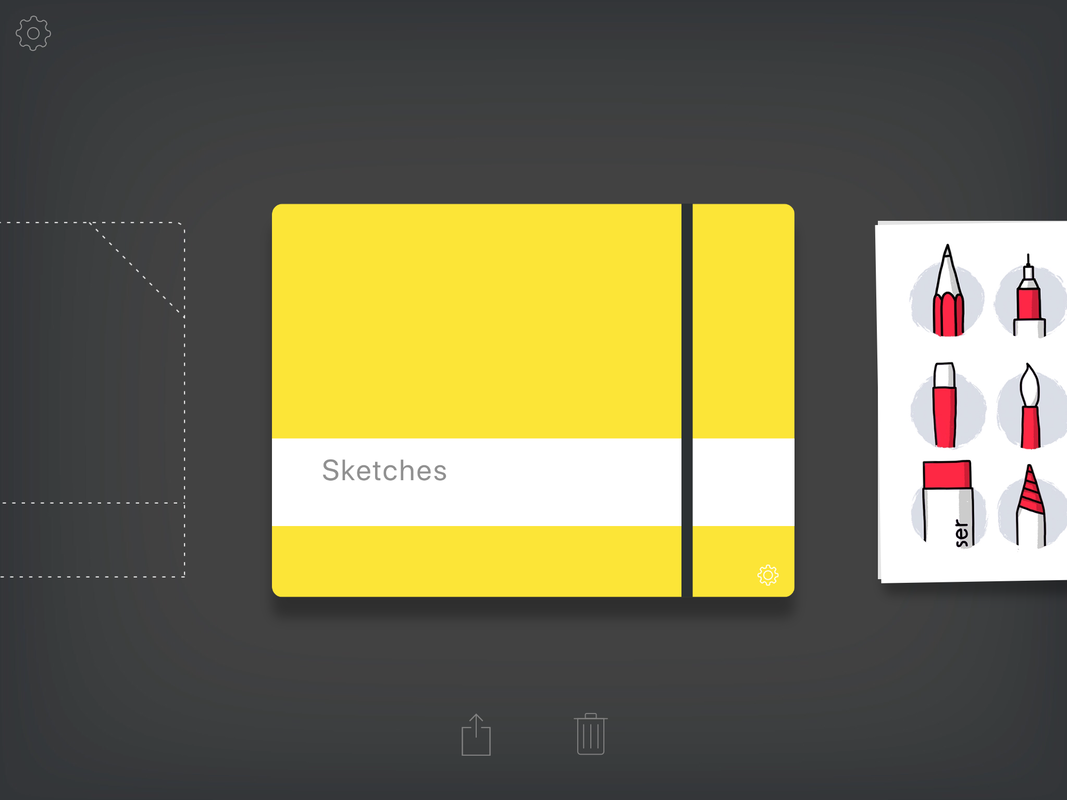 Now in the sketches default folder it will open and show either no sketches or a sketch you may of already started, you need to press the big plus button to open a new sketch to draw on. Now on the left of the blank canvas there is a tool bar where you can select all of the different tools, it is recommended that you look at the example pictures at the beginning so I don’t have to explain every individual tool to you. To get the toolbar out of the way simply swipe to the left near the toolbar to make it go away. On top of the sketching page you can see an option bar to tweak the page or upload or download images. 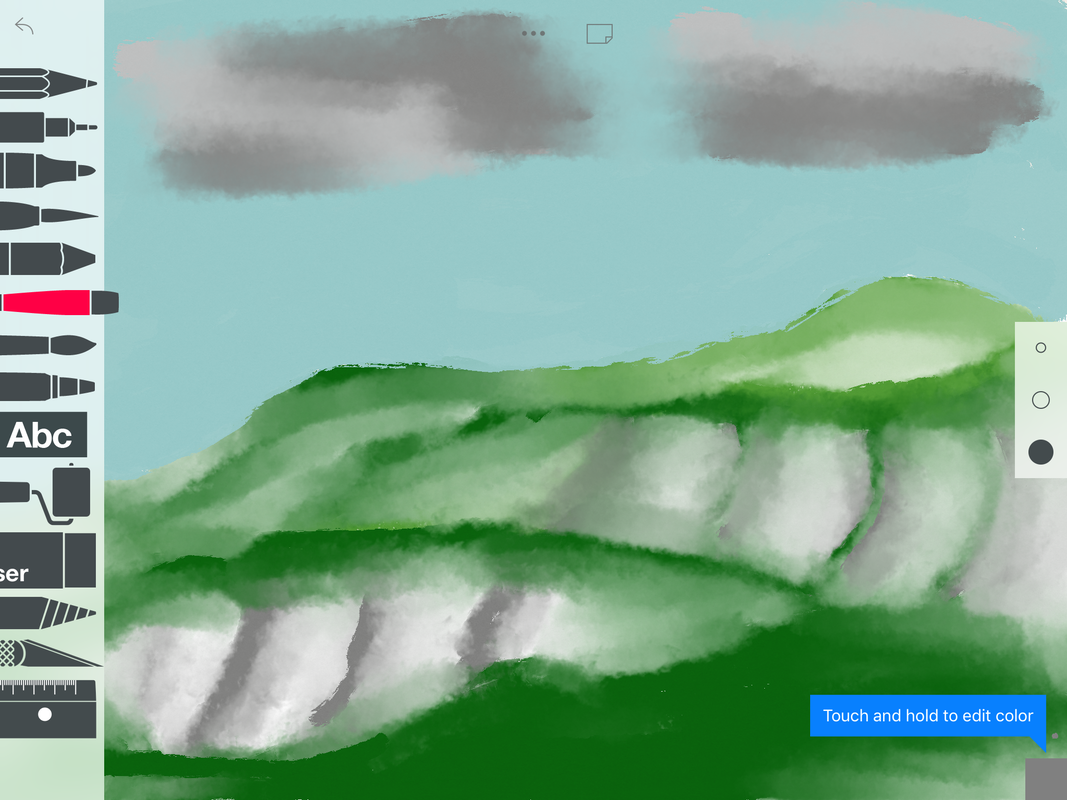 Tips to use while drawing is using the shader tool to add the “professional” effect of colors and mixing colors. Now that you know what tools do what, feel free to try it out and experiment with it, the more you use it the more you will become more skilled so go have fun.
|
